
A cracked windshield can be both an eyesore and a safety concern. Fortunately, fixing a windshield crack at home using DIY kits can be a practical solution, especially for minor damages. This guide will walk you through the steps to repair a windshield crack yourself, offering tips to ensure a successful fix.
Understanding Windshield Cracks
Before you start, it’s essential to understand the type of crack you’re dealing with. Common windshield cracks include:
- Star Cracks: Star-shaped cracks with a central impact point.
- Bullseye Cracks: Circular cracks with a central chip.
- Stress Cracks: Long cracks that occur due to temperature fluctuations or impact.
Each type of crack requires a slightly different approach for repair, but DIY kits are generally designed to handle the most minor cracks effectively.
Preparing for the Repair
1. Assess the Damage
Determine if the crack is suitable for a DIY repair. Generally, cracks smaller than 6 inches and chips smaller than a quarter can be repaired at home. If the crack is larger or obstructs your view, a professional repair or windshield replacement may be necessary. For more extensive damage, consider a professional service to ensure safety and quality.
2. Gather Your Materials
A typical DIY windshield repair kit includes:
- A resin injector
- A resin solution
- A curing film
- A razor blade
- A cleaning cloth
Ensure you have these tools on hand before beginning the repair process.
Steps to Fix a Windshield Crack
1. Clean the Area
Start by cleaning the area around the crack. Use a glass cleaner and a cloth to remove any dirt or debris. Allow the area to dry completely before proceeding.
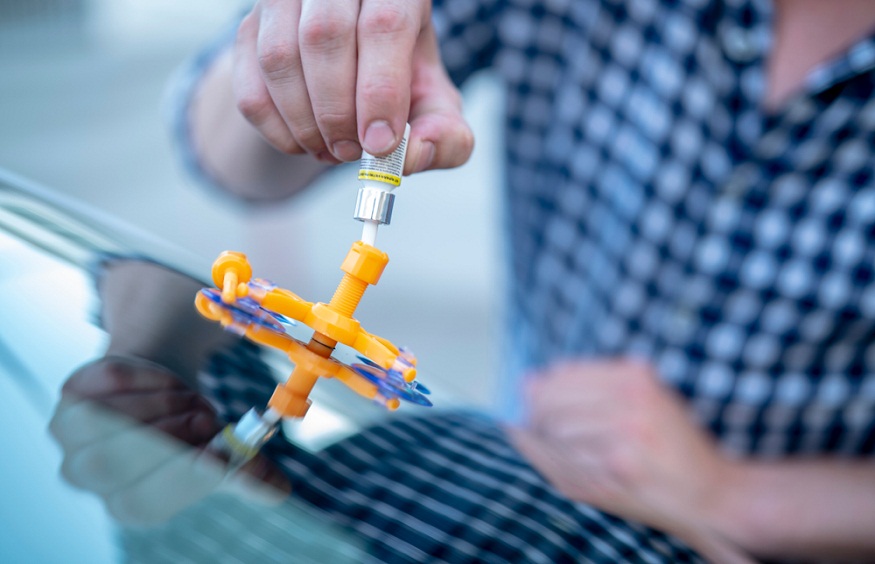
2. Apply the Resin Injector
Follow the instructions provided with your DIY kit to assemble the resin injector. Place the injector over the crack, ensuring it’s aligned properly. The injector will help apply the resin into the crack.
3. Inject the Resin
Carefully inject the resin into the crack. Most kits will have a plunger or similar mechanism to push the resin into the crack. Ensure the resin fills the crack completely to prevent air bubbles from forming. The resin should flow into the crack and fill it thoroughly.
4. Cure the Resin
Once the resin is applied, place the curing film over the crack. This film helps the resin to cure properly and prevents dust from settling on it. Expose the area to UV light or sunlight to harden the resin, as per the instructions in your kit. This typically takes 10-15 minutes.
5. Remove Excess Resin
After the resin has cured, use a razor blade to scrape off any excess resin. Gently scrape the area to level the resin with the surface of the windshield. Be careful not to damage the glass while doing this.
6. Clean Up
Wipe the area with a clean cloth to remove any remaining residue. Inspect the crack to ensure it has been filled properly and there are no visible gaps.
When to Seek Professional Help
While DIY kits can be effective for minor cracks, there are situations where professional intervention is necessary:
- Large Cracks: Cracks larger than 6 inches typically require professional repair or replacement.
- Obstructed View: If the crack obstructs your view or affects the structural integrity of the windshield, a professional repair or replacement is advisable.
- Multiple Cracks: If you have multiple cracks or extensive damage, it’s safer to consult with an expert.
For comprehensive windshield issues or if you’re unsure about the repair, consider contacting a professional service. They can provide a thorough assessment and perform high-quality repairs.
Conclusion
Fixing a windshield crack at home using a DIY kit can be a cost-effective and straightforward solution for minor damage. By following these steps and using the proper tools, you can restore the integrity of your windshield and enhance your driving safety. For more extensive repairs or windshield replacement in Scottsdale, seeking professional assistance is essential to ensure safety and optimal results.